The blue and orange bunting was made by sewing together triangles of fabric. I could have simply cut out triangles and used a plain single-ply triangle, but I didn't want them to fray, so I sewed them together: click HERE for an illustrated explanation of this technique - unfortunately, I did not photograph my process.
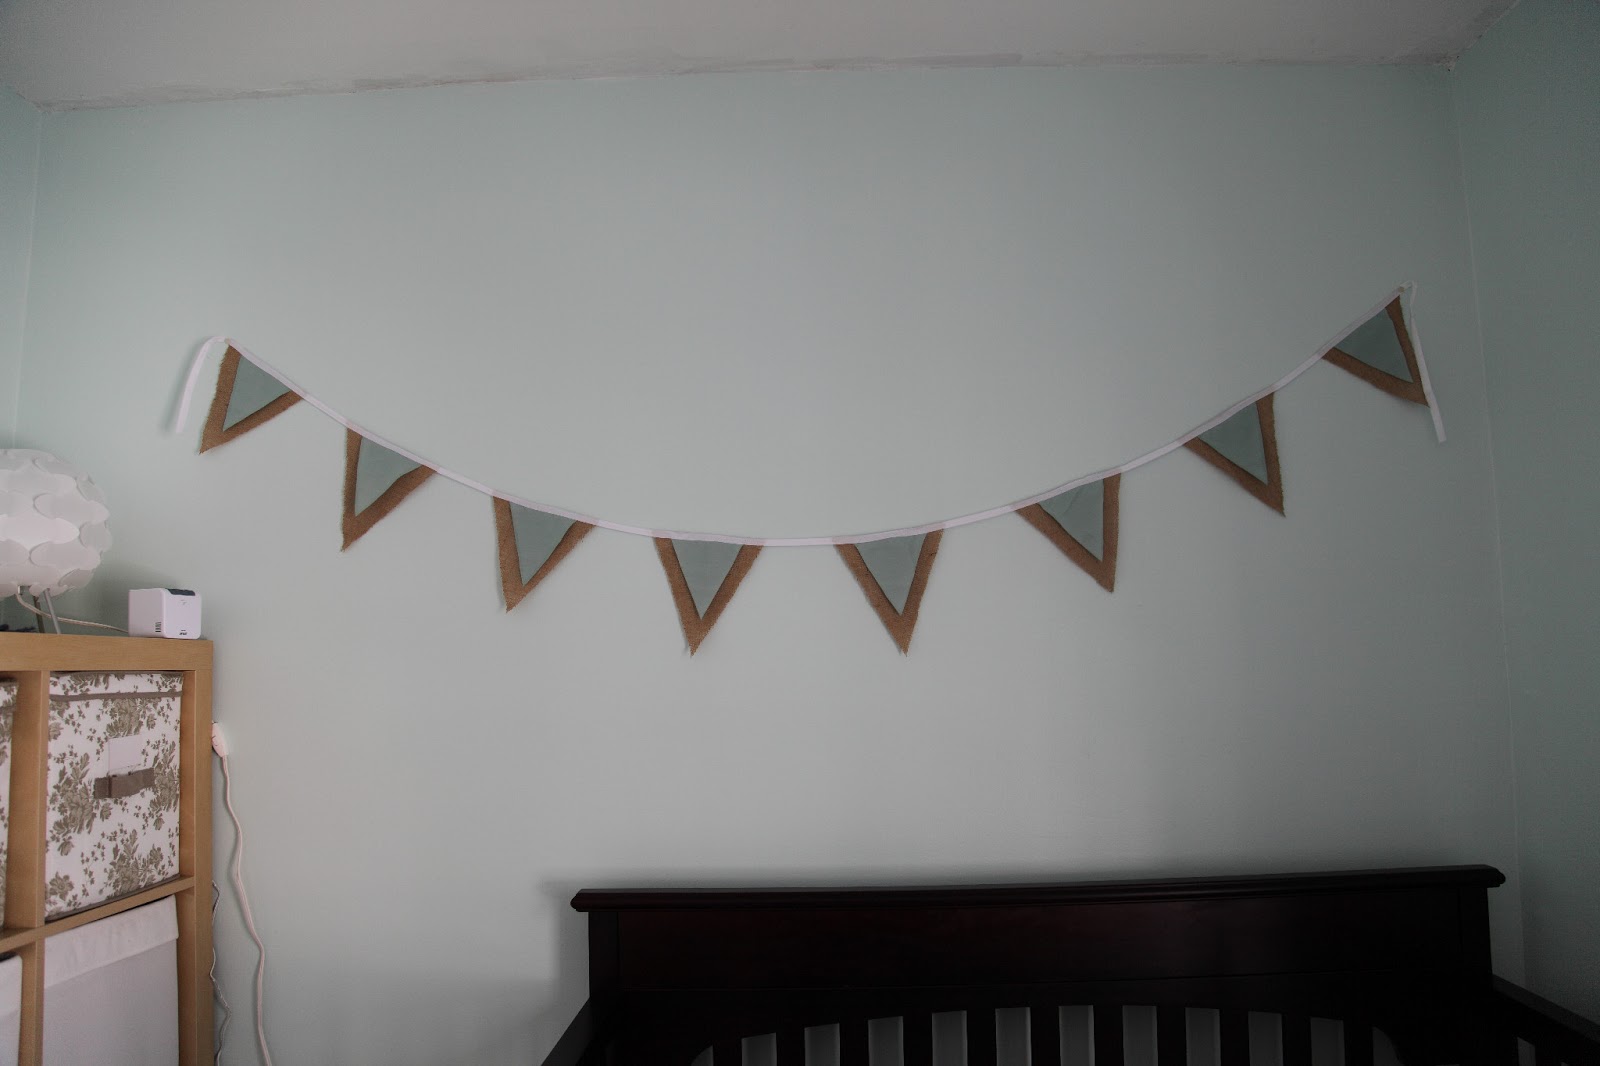
For the "new and improved" pale blue nursery, I used some teal fabric, burlap, mod podge, white double fold quilt binding, white thread, and some of the leftover paint from the walls. I made two different strings of bunting:
For the first one - the one that reads "BABY" - I simply cut out my triangles, then painted the triangles with mod podge - this would ensure that they wouldn't simply fall apart over time. Drying them was a pain; I had to keep flipping them over so they wouldn't dry all curled up. Putting something heavy on top of them right away when they finish drying would also help. Then, I freehanded my letters with a small paint brush, and sewed the triangles into the quilt binding. With the second string of bunting, I added the teal triangles on top of the burlap ones. To keep the teal triangles from fraying, I carefully dipped just the very the edges into a little puddle of mod podge I poured out on a plate.
The whole project took me just a couple of hours, and I think it turned out pretty cute. I love triangle bunting to brighten things up, so it seemed like just the thing for a nursery. Just have to get little lady into this room! At nearly 4 weeks, she has yet to sleep in there - it just seems weird to have her all the way down the hall! We'll tackle that once she's sleeping through the night and doesn't need to be fed and changed at 2 a.m.!


No comments:
Post a Comment